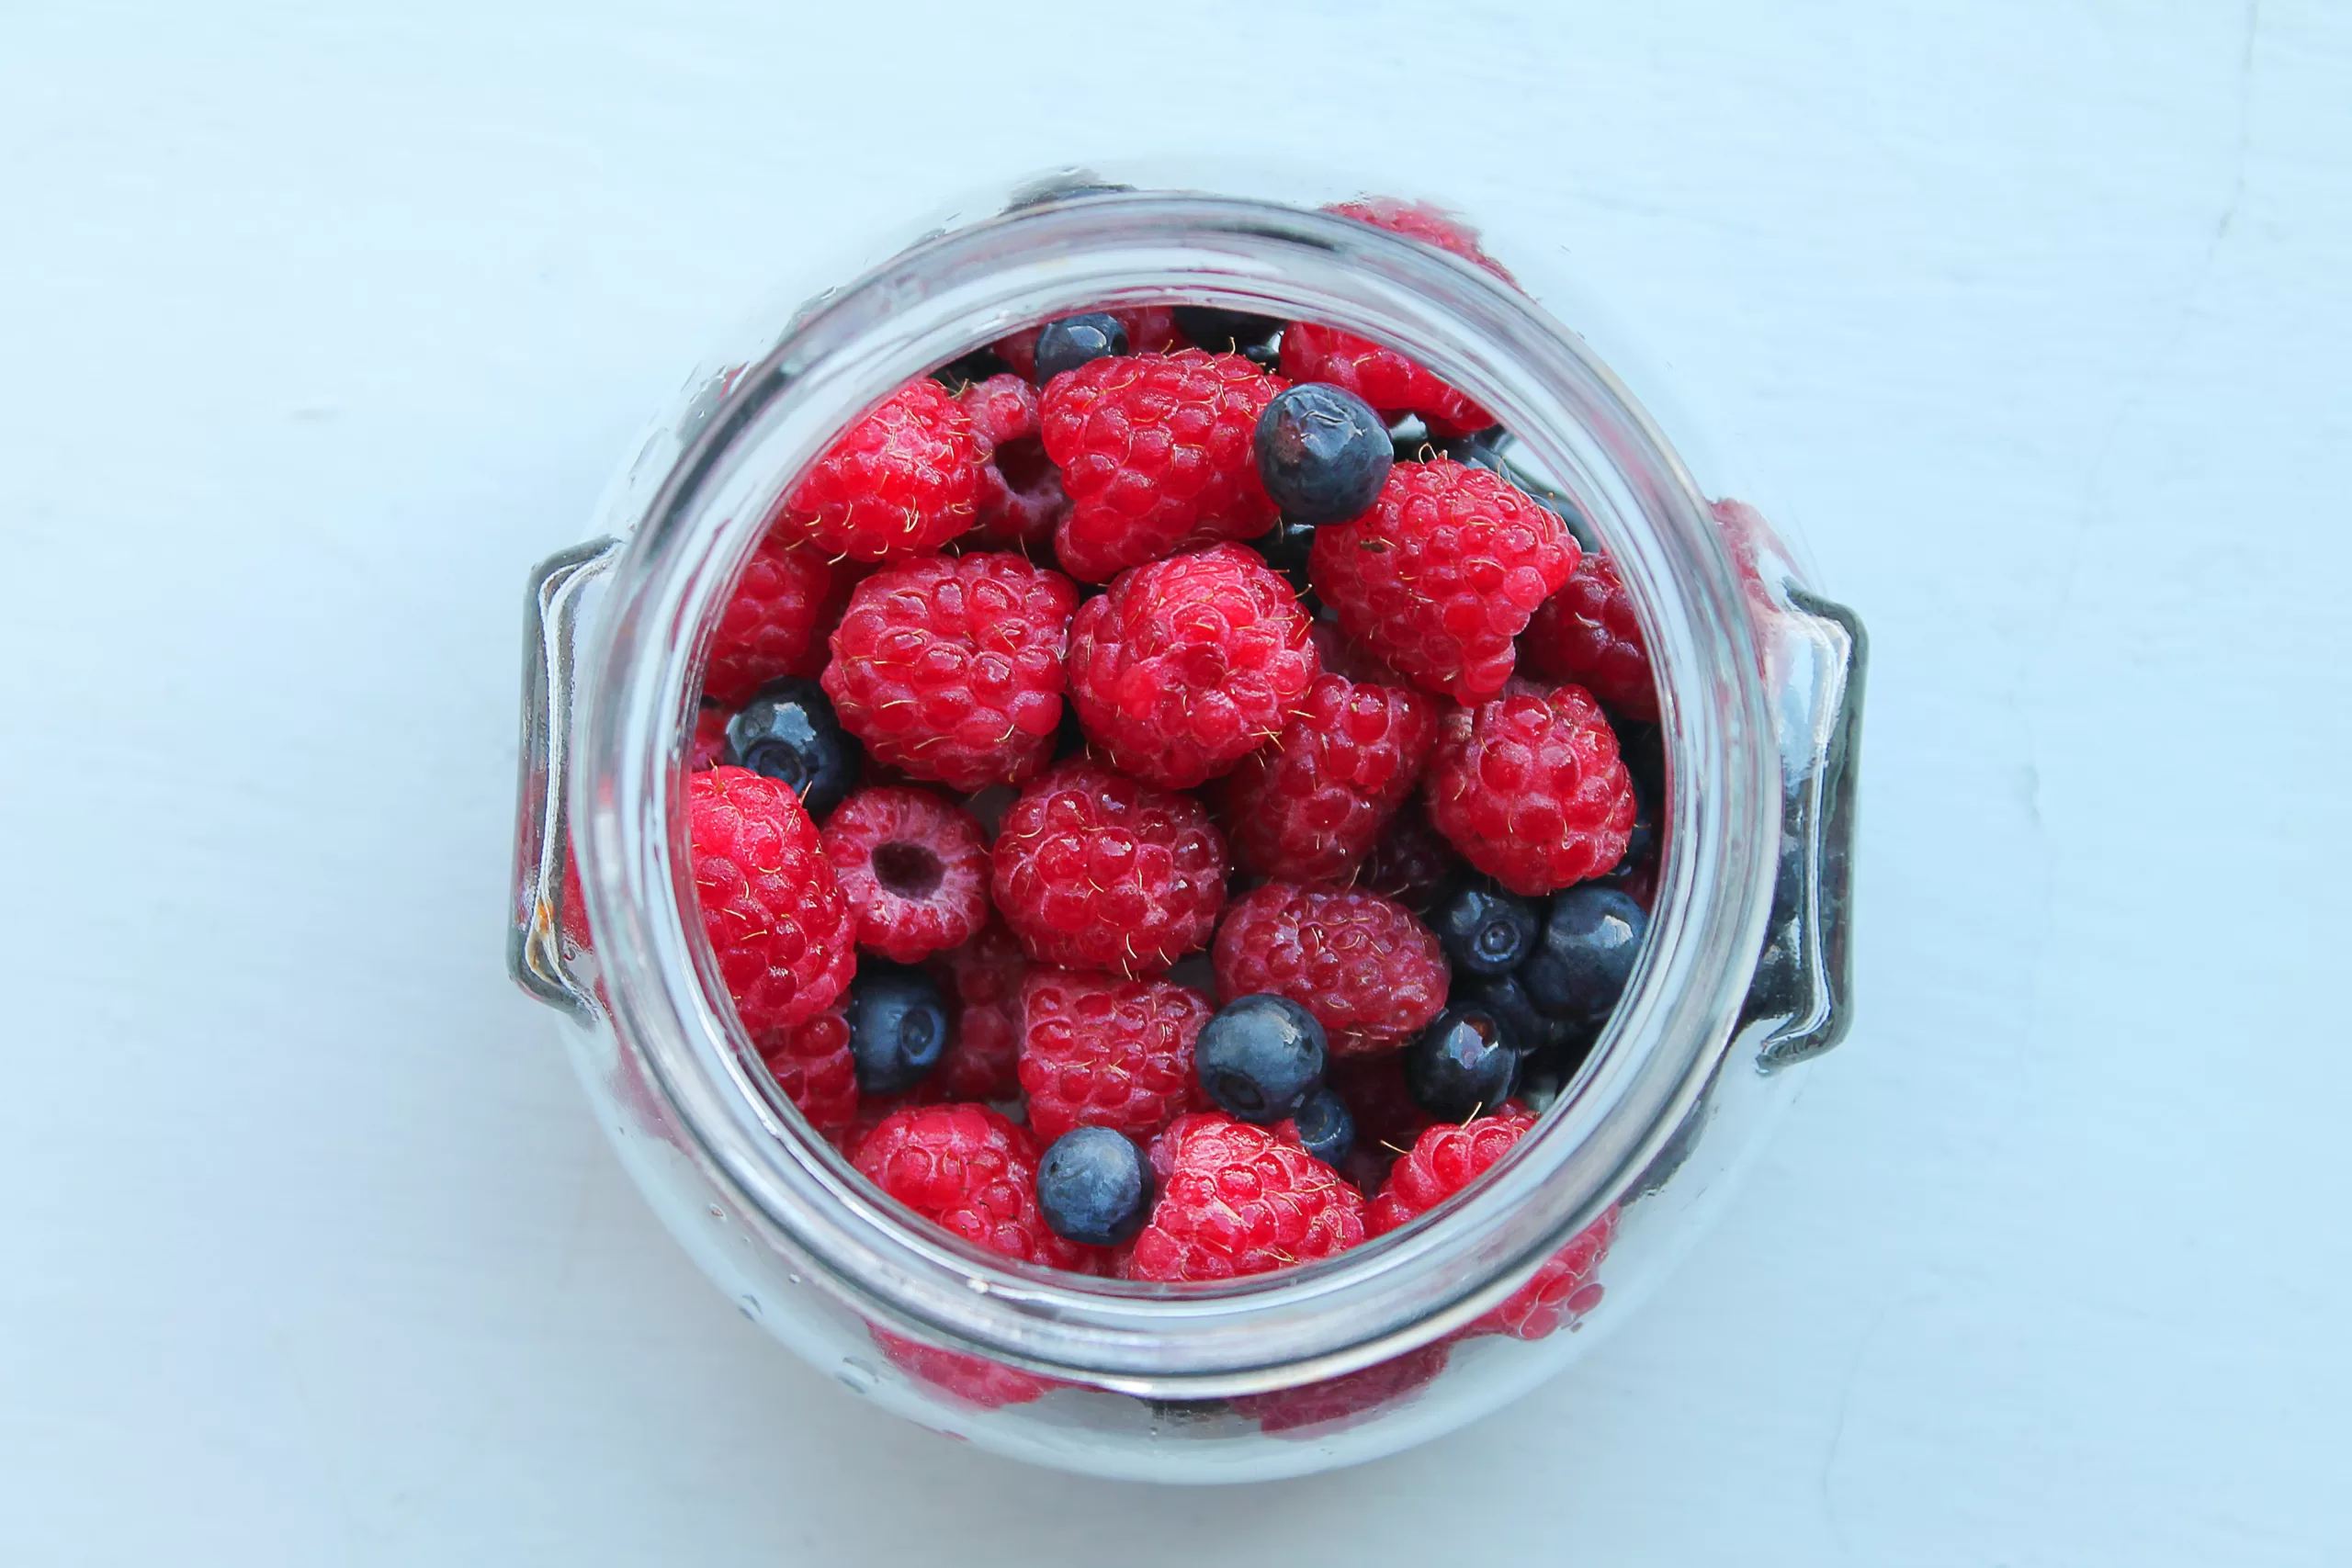
Preserving Summer: Canning Planning
There is so much bounty to enjoy during summer. If you like fruits or veggies, there is plenty to go around. Everything is so fresh but it will soon go bad if we don’t do something to preserve it. So I’d like to take you along while I plan my summer canning.
This post may contain affiliate links. If you click, I may make a commission at no cost to you. Please see my full disclosure policy for more details.
Why Preserve Food
So why in this information-age, would anyone want to preserve food when the grocery stores are stocked and there are lots of warehouses ready to go at a moment’s notice?
Well, this might be controversial, but I don’t believe we should live our lives dependent on the stability of society. Even in these recent years, we’ve seen how quickly things can degrade and change. Depending on stores shouldn’t be your only plan. And I’m in no way a doomsayer (or doomsdayer) but I like to live with a plan B.
This age-old advice about being prepared (specifically with storing food) can be found in Bible.
Go to the ant, you lazy one,
Observe its ways and be wise,
7 Which, having no chief,
Officer, or ruler,
8 Prepares its food in the summer
And gathers its provision in the harvest.Proverbs 6:6-8
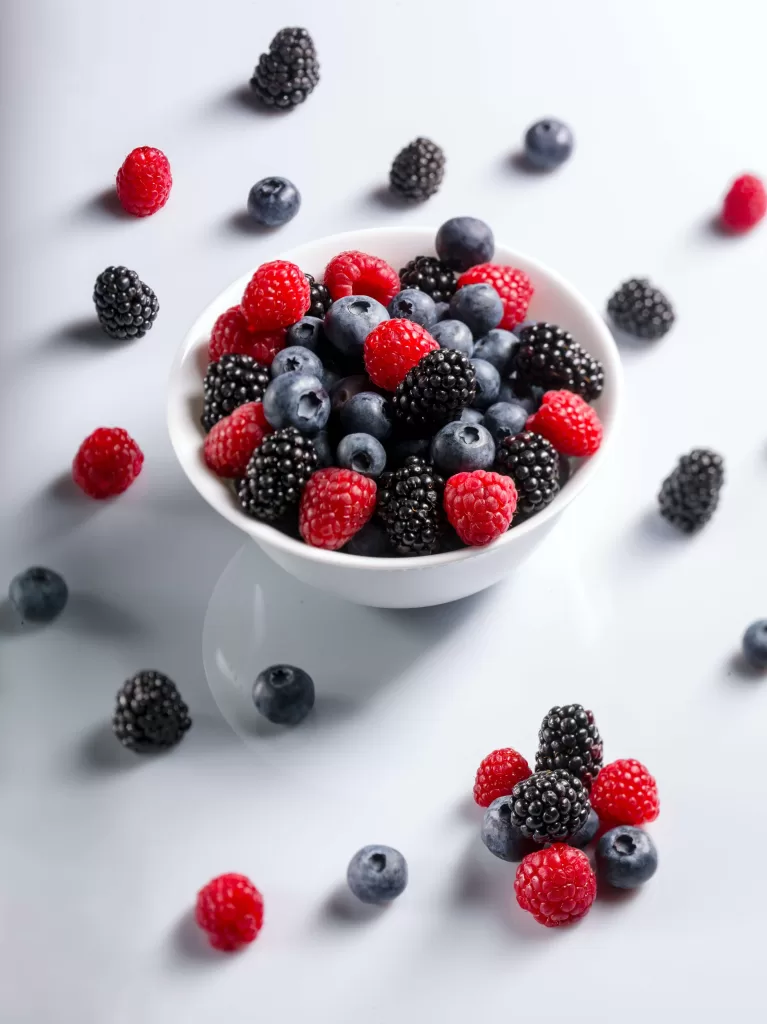
4 Ways to Preserve Food
Once you realize how easy it is to preserve summer foods, you’ll be a believer for sure! I mean, after all, everyone does some food preservation on a regular schedule. What do I mean? Well, let’s look at these 4 common ways to preserve food.
Freezing
This is by far the easiest way to preserve and the most common. I mean almost everyone has a freeze and you buy bread or meats and pop them in the freezer. It is no different with preserving summer foods in larger batches.
The only things you need are a large freezer or a separate deep freezer chest and something in which to freeze the food.
Most people use some combination of plastic wrap, freezer bags, and aluminum foil, however, with a quick search you could find other more environmentally friendly methods.
Dehydrating
Another popular way to preserve food is by dehydrating. It’s really common to preserve summer herbs this way. Another thing you can do with summer’s bounty, which I particularly love, is to make snacks. Dehydrating nuts, seeds, fruit and even certain veggies (thinly sliced like kale for kale chips) makes amazing snacks.
To make these snacks or preserved foods, you are drying the foods over a long time to reduce moisture from the cell structure. You can use this method by using the sun in some cases, the oven, or by way of a convenient dehydrator.
TIP: You can use an oven to dehydrate everything you would with a dehydrator. Most foods can be preserved at 140 degrees, but for specifics search Google for how to dry it.
Water Bath Canning
When people think of summer canning they are usually thinking of either pressure canning or water bath canning. Water bath canning is the simpler of the two.
Water bath canning depends heavily on processing the jars at boiling point. This method is most appropriate for fruit (including tomatoes), pickles, jams and jellies. High acid foods are best used with water bath canning.
Water bath canning is very beginner friendly.
Pressure Canning
Pressure canning is when you seal your jars under high pressure using a specialized pressure canner.
The canner works similarly to an instant pressure cooker. You preheat the canner and once preheated you load the jars in, seal and let it pressurizer.
Once it reaches the right temperature, over the recommended length of time, your jars are sealed and bacteria is eliminated.

Summer Canning: How to Start
You may be thinking, ok all of that’s fine but where do I get enough food to even have a supply to can. Well, summer is a great time to dip your fingers into the world of canning. But the best way to start anything is to have a plan.
This Home Canning Planner and Journal will help you from start to finish!
In your canning planner get the best months to stock up on certain foods, a list of equipment and supplies, inventory lists, brainstorming pages and so much more. There are 30 pages that you can get 30% off if you buy now.
Even if you miss the sale, get a 75% off coupon code when you join the community mailing list.
But to answer your initial query about where to get enough food, I’ve got several ideas to get you started.
- Stock up at the grocery store (probably the most expensive way)
- Stock up on fresh fruits and veggies at a big box store like Sam’s, Costco or BJ’s
- Check out your local Farmer’s Markets (which are in abundance during summer)
- Join a local CSA
- Visit pick-your-own farms
- Start your own Garden to preserve your harvest
- Seek out friends or neighbors who have gardens or homesteads and make a trade of asking for their extras
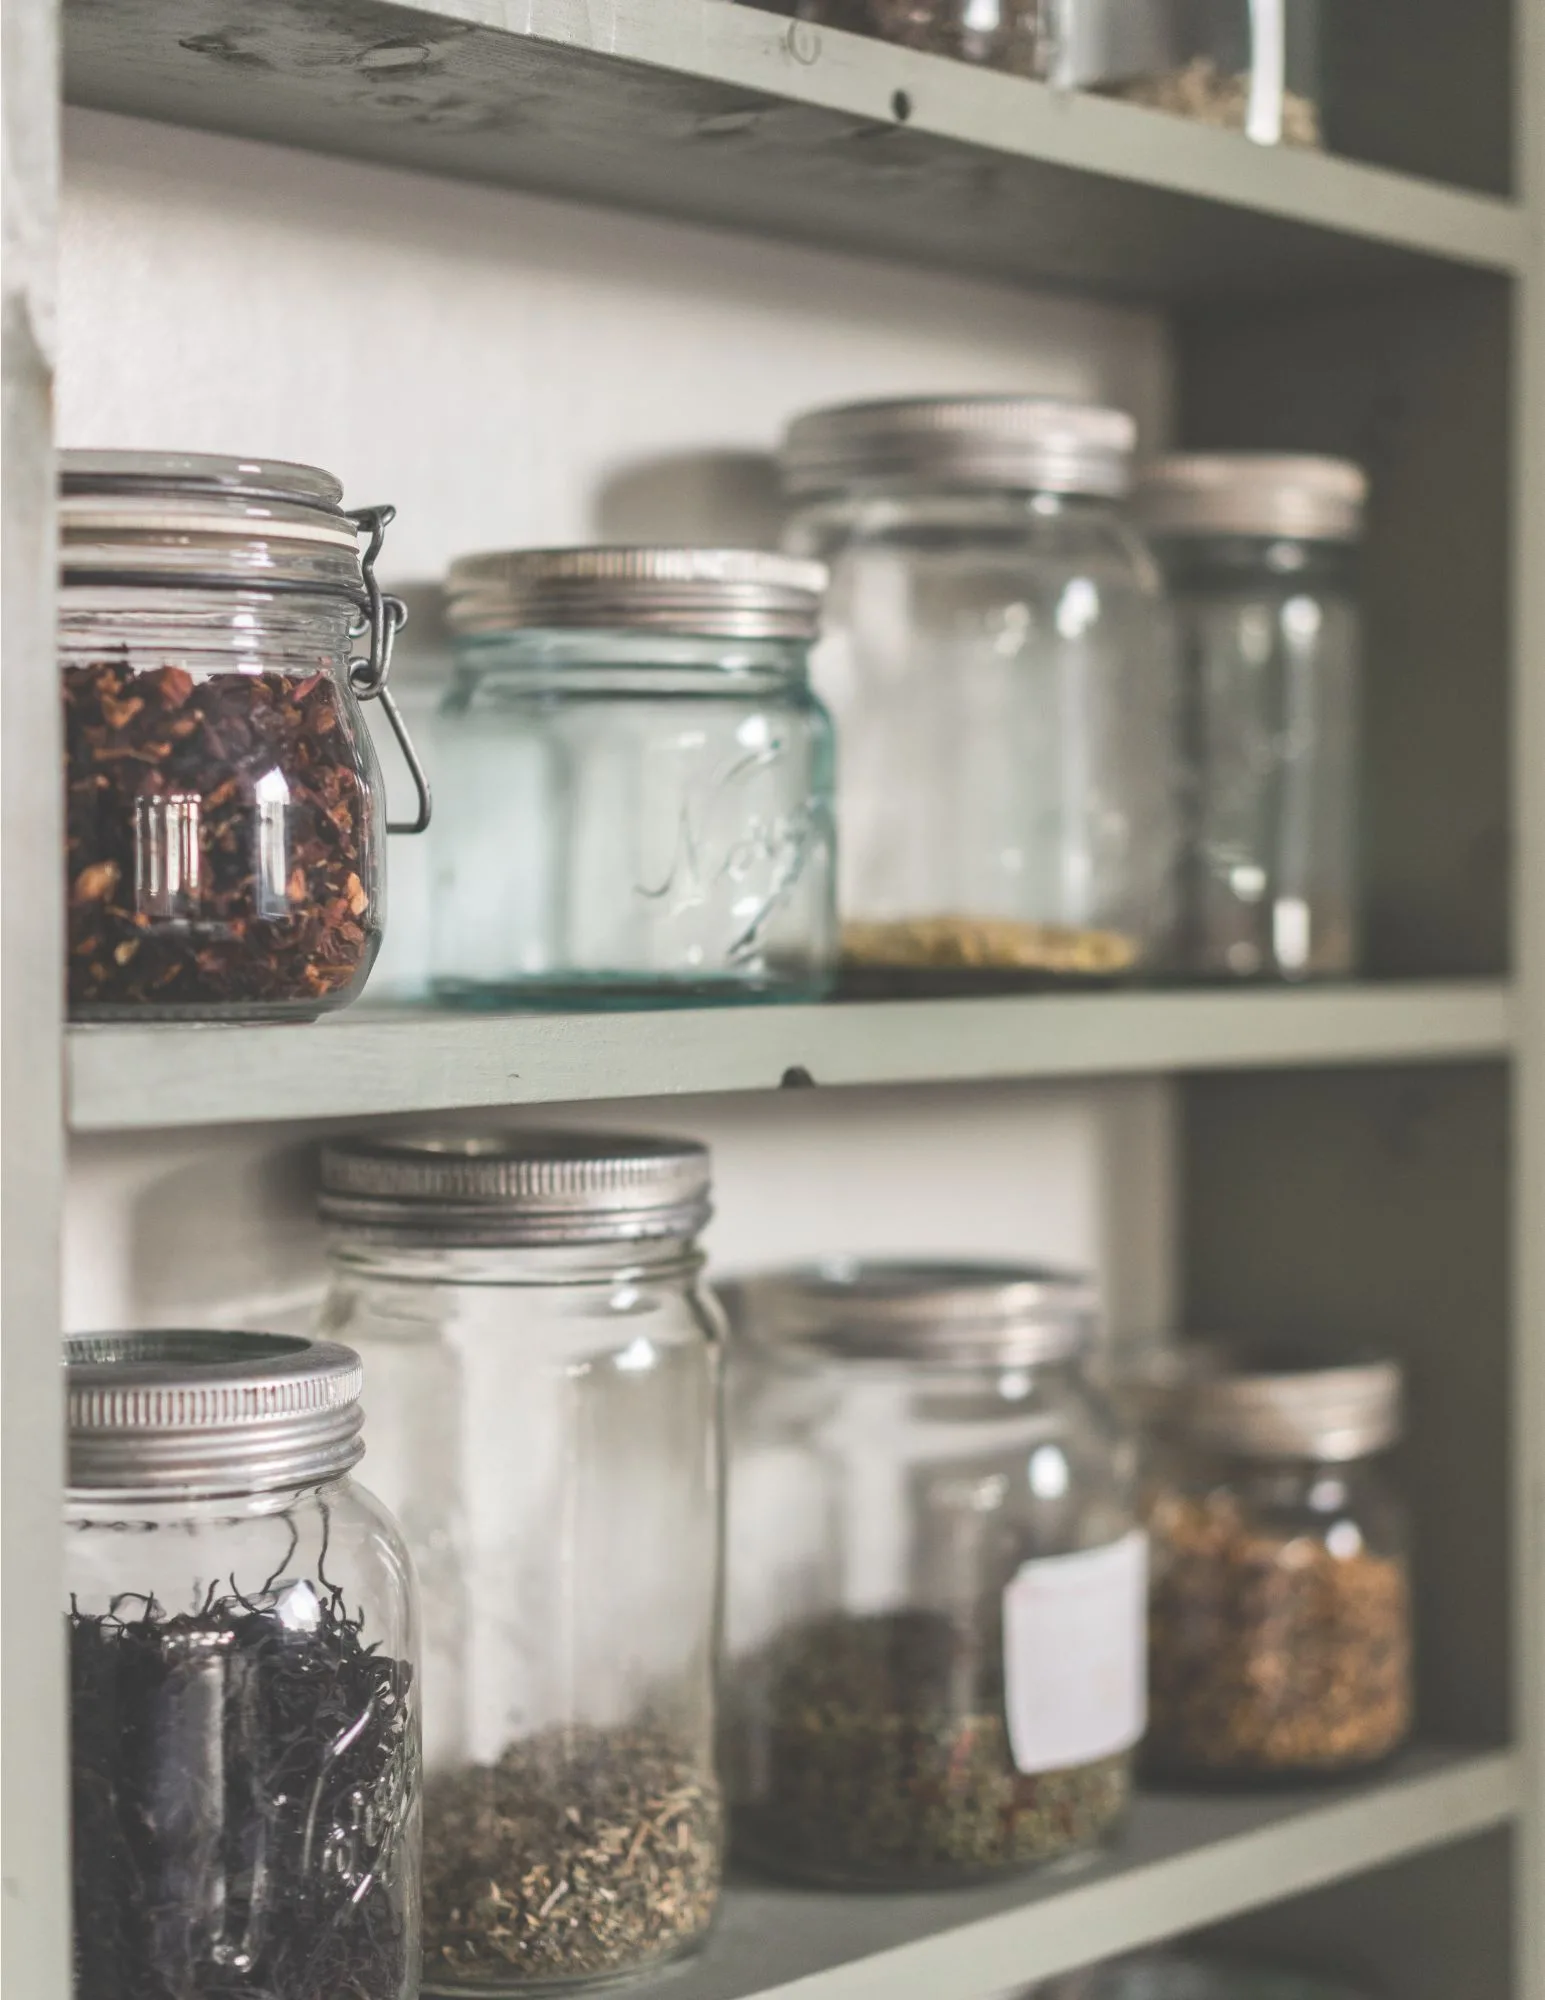
In preparation for your canning weekend, you’ll also need to get some supplies:
- Canning Jars
- Canning Lids and Bands
- Water Bath Canner (or a deep pot)
- Pressure Canner
- Jar Lifter – Try this Canning Kit
- Lid Lifter
- Canning Funnel
- Towels
- Large Spoon
Lastly, you’ll need some directions or canning recipes in order to avoid food poisoning or botulism. You can look up your specific food and watch a random youtube video or website on how to can it. Or you can grab one of the following books (I’ve done both at different times).


How I Preserved My Blueberries

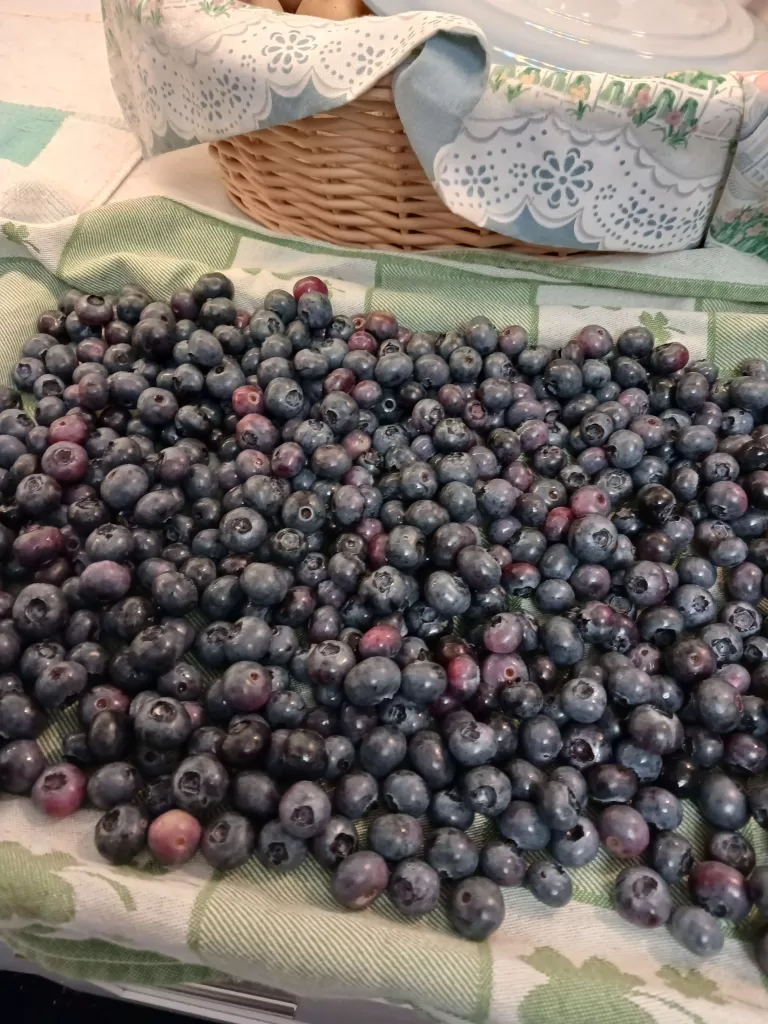
This season my family went blueberry picking early morning on July 4th. I love that our local farm is open on that day because it seems like the perfect, old-fashioned patriotic thing to do.
After picking the berries and driving home there are still a couple of steps before I do any cooking or eating of the berries.
Step 1: Debug
Yes, if you saw my Instagram, you’ll know that I am not against my kids eating the berries off the bush. I usually grab a few myself since our local farmer encourages it.
However, I am fully aware that some of our pickings come with critters. So straight away, I put the berries in a solution that will remove any light debris, dirt, pollen, bacteria, and most importantly bugs. Namely, worms and other bugs from the inside of the berry.
Soak Solution
In a large bowl or in a very clean sink with a stopper
Cover the berries with water
Add 2 T of Baking Soda
Add 1 T of Salt per cup of water (mixing to dissolve isn't a bad idea)
Let soak 20 minutes up to overnight
NOTE: This solution isn’t meant to remove pesticides. In my opinion, putting your food in any solution, spray, or rinse (especially just a water rinse), does almost nothing for removing pesticides. Yes, it removes any residue just sitting on the surface, which this solution does, but if you know you have conventional, pesticide-sprayed food, it is already in the cell structure. If you have a concern about chemicals you might want to do some research and buy organic.
Step 2: Discard
After rinsing and draining the solution, I get rid of any bad berries and any buggers that popped up. Bad ones would be any that have holes, strange spots, or shriveled. If you are very choosey you may want to pitch the ones that are lighter in color because they will be tart.
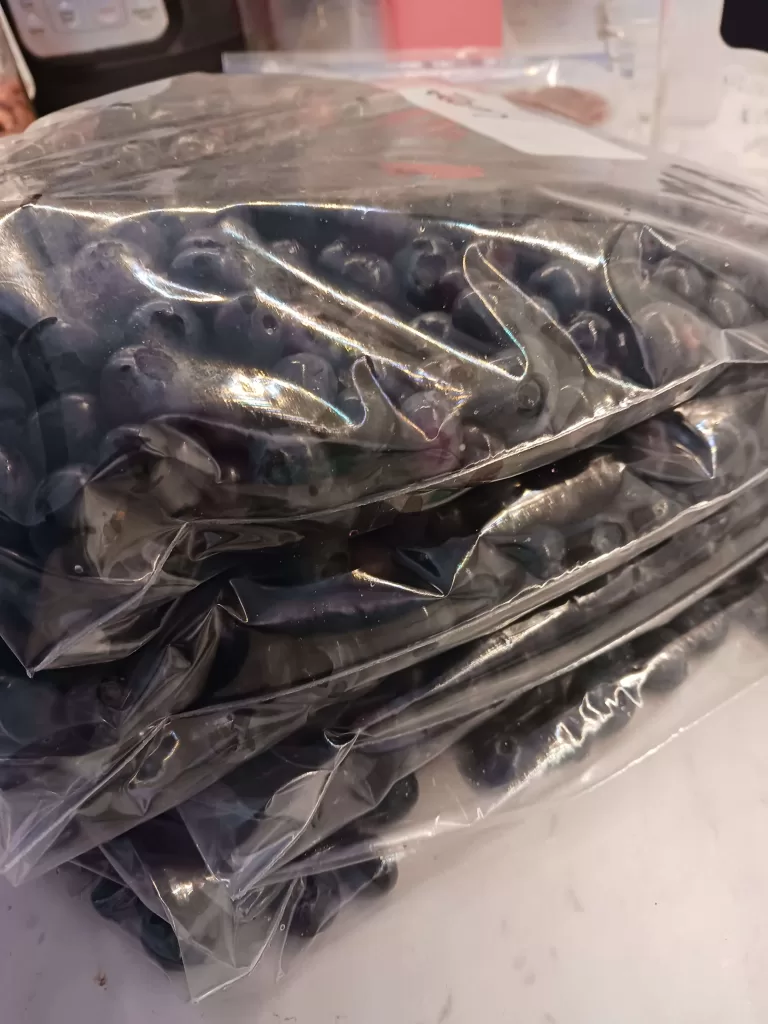
Step 3: Deep Freeze
Lastly, I lay out the blueberries to dry. This may take about an hour. Then I go the simple way of preserving them by putting them in freezer bags.
I lay the bag flat in the freezer, at least until they have frozen. This allows the berries to freeze separately, instead of in an ice block. So it’s easier to pick out a few without having to thaw the whole bag.
At this point, I can either leave them this way for smoothies, for the kids to snack on, or to use in a recipe or I can come back to them later to preserve them in a different way. Like later in the week I can do some summer canning for blueberry jam or pie filling.
That is partly my plan, but also I left some out of the freezer and immediately made some blueberry muffins for the kids and blueberry syrup.
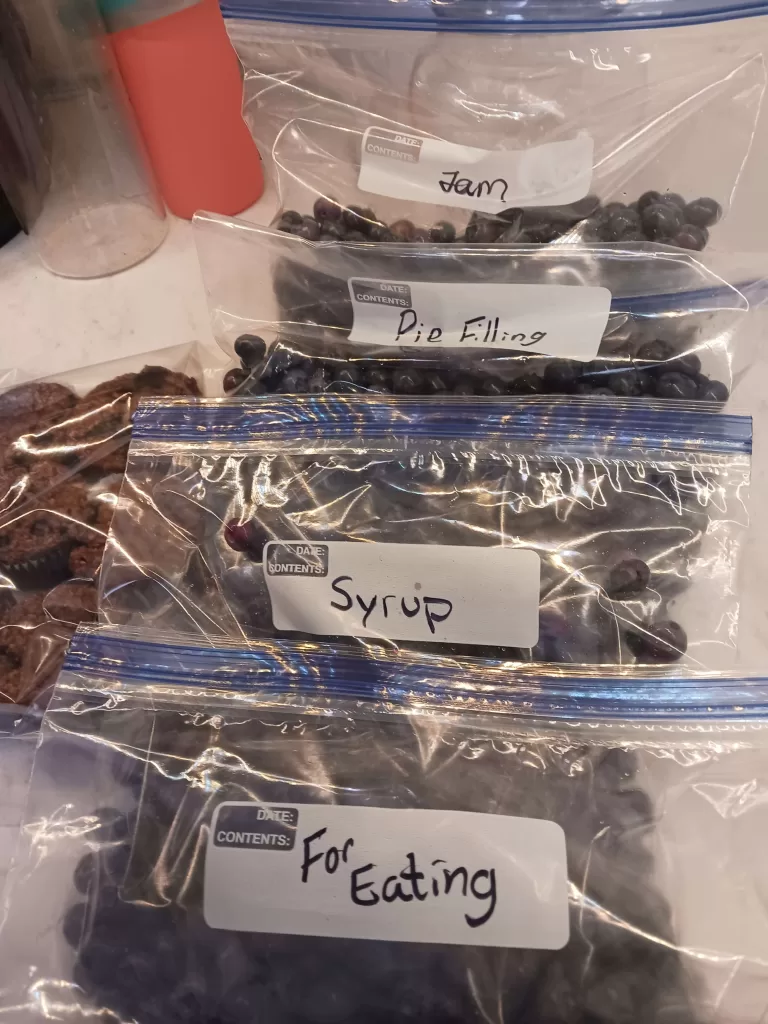
The kids were happy I also left some labeled “To Eat” 🙂
More Summer Canning Planning
Every year my family does pick-ur-own farms for Strawberries, Blueberries, and/or Apples, plus we do an order for Georgia Peaches from the Peach Truck. This year we already have an order in for peaches and I’m planning on going apple-picking in early autumn (per my son’s request).
However, since our garden is still too small, the only thing left to do for summer canning is to can the peaches that are coming. I will probably make them all into peach-pie filling. My thought is that I will freeze some for smoothies as well. Maybe by the time the order comes, I’ll have an official canner, but we’ll see.
Have you done canning before? If so, do you have any tips or tricks to add? Tell me down below!


This is awesome! We do a lot of preserving at our house so this is super helpful!